
To reshaft golf clubs, first heat the hosel to soften epoxy and carefully remove the old shaft. Twist for steel and use an extractor for graphite. Clean the hosel thoroughly with a brush and acetone while warm. Trim the new shaft to length, sand and mark it.
Then apply epoxy evenly inside the hosel and on the shaft tip. Insert and align precisely, then let cure undisturbed for a strong bond. Follow these steps, and you’ll master essential reshafting techniques.
Key Takeaways
- Soften epoxy by heating the hosel with a heat gun for about 30 seconds before removing the old shaft.
- Use a graphite shaft extractor for graphite shafts; twist steel shafts to detach after heating.
- Clean the hosel thoroughly by brushing and applying acetone while it’s warm to remove epoxy residues.
- Trim and sand the new shaft tip, then slide the ferrule on before applying epoxy for installation.
- Insert and align the shaft in the hosel, cure epoxy for 12–24 hours, then install the grip properly.
Safely Remove Your Old Shaft
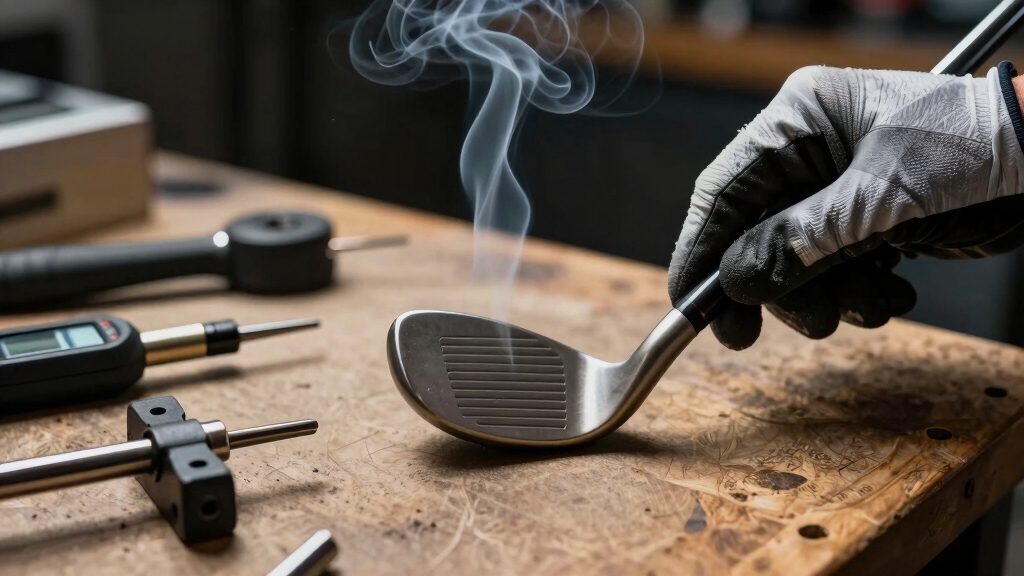
To safely remove your old shaft, start by heating the hosel with a heat gun for about 30 seconds to soften the epoxy bond.
Begin by heating the hosel with a heat gun for 30 seconds to soften the epoxy bond.
If you’re working with a steel shaft, grip the clubhead firmly and twist the shaft to detach it.
For graphite shafts, use a graphite shaft extractor: heat the hosel, then carefully turn the extractor bolt without twisting the shaft itself to avoid damage.
If the shaft doesn’t loosen, apply heat in 15-30 second increments until it does.
Before removal, cut off the ferrule if you plan to reuse the shaft, warming it first to prevent cracking.
Once loose, clean any remaining epoxy inside the hosel with a wire brush while it’s still warm to prepare for the next step.
It is important to place the club on a stable surface with the hosel up during removal to ensure even pressure and prevent damage.
Clean and Prep the Hosel for Reshafting
After removing the old shaft and clearing out loose epoxy with a wire brush while the hosel is still warm, focus on thoroughly cleaning the hosel socket.
Use a nylon or wire brush to remove any remaining epoxy residue, taking care not to damage the bore plug if your clubhead is metal.
Next, apply acetone with Q-tips inside the hosel to dissolve stubborn residues and guarantee a clean bonding surface.
Avoid over-penetrating the bore to protect internal components.
Maintain the hosel’s warmth during cleaning to soften epoxy remnants, making removal easier.
This meticulous preparation is critical for proper epoxy adhesion and a secure fit when you install the new shaft.
Once cleaned, inspect the hosel to confirm it’s free of debris and dry before proceeding to the next step.
For best results, consider using solvent injection techniques to ensure any remaining adhesive is fully dissolved without damaging the hosel.
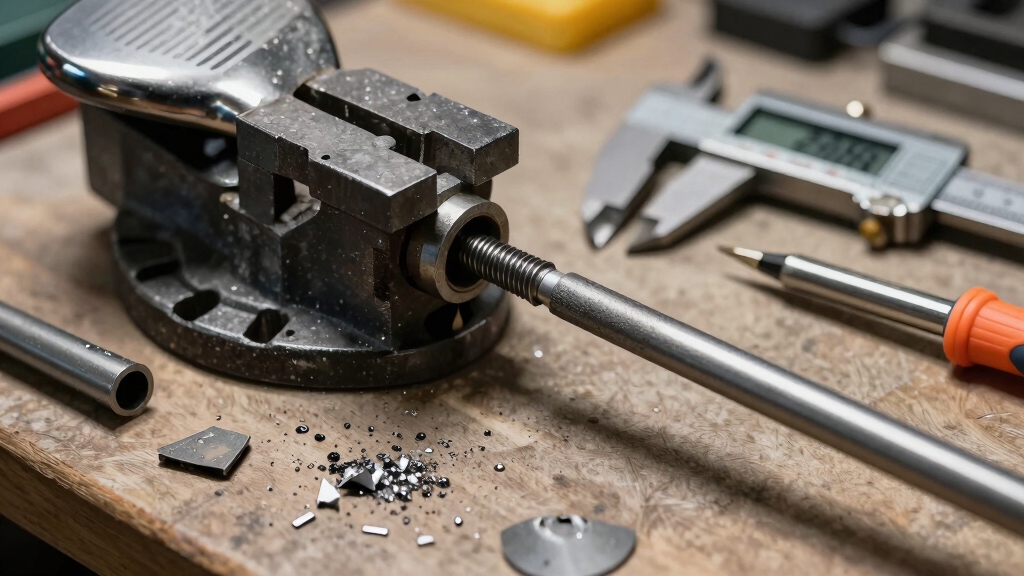
Trim and Prepare the New Shaft for Installation
Begin by trimming the new shaft to the specified playing length minus 1/8 inch to allow for grip installation. Use a sharp saw or shaft cutter to guarantee a clean, straight cut.
Next, abrade the tip end with fine-grit sandpaper to create a rough surface, improving epoxy adhesion. Mark the insertion depth on the shaft clearly with a permanent marker for accurate placement during assembly.
Slide the ferrule onto the shaft, inserting the smaller end first, and position it near the tip but leave space for epoxy. Also, lightly sand the butt end to prep for grip installation later.
Confirm all surfaces are clean and dry before moving on. Proper trimming and preparation guarantee a secure, precise fit between shaft and clubhead.
For best results, apply masking tape tightly over the cut line to support outer fibers and maintain finish integrity during cutting, as detailed in Measurement, Marking, and Planning.
Apply Epoxy and Install the Shaft
Mix a small amount of epoxy on a palette using a razor blade, ensuring it’s thoroughly combined for ideal bonding. Dip the shaft tip into the epoxy, leaving a small glob on the end. Coat the inside walls of the hosel evenly with epoxy.
Insert the shaft into the hosel, rotating it to spread the epoxy uniformly. Tap the butt end gently to seat the shaft tip fully against the hosel bottom.
| Step | Action | Tip |
|---|---|---|
| Epoxy Mixing | Combine thoroughly | Use small batches |
| Shaft Coating | Dip and coat hosel evenly | Avoid excess epoxy drips |
| Installation | Insert and rotate shaft | Tap gently to seat shaft |
Wipe off excess epoxy promptly to ensure a clean finish before curing. Proper surface preparation, including removal of old adhesive residue, is essential to ensure strong epoxy bonding and long-term shaft stability.
Align, Cure, and Finish Your Reshafted Club
Once you’ve wiped off the excess epoxy and seated the shaft properly, focus on aligning the clubhead in the correct playing stance.
Rotate the shaft until the graphics or alignment marks face the intended direction.
Make sure the clubface is square and consistent with your swing requirements. Secure the club in a stable position to prevent movement during curing.
Let the epoxy cure undisturbed according to the manufacturer’s specified time, usually 12 to 24 hours.
After curing, inspect the joint for any epoxy squeeze-out or irregularities.
Use a razor blade or fine sandpaper to clean and smooth ferrule edges.
Finally, install the grip with proper adhesive and check the overall club length and balance before use.
Proper alignment and curing are critical for performance and durability.
Maintaining grip texture with fine sandpaper can enhance control and comfort after reshafting.
Frequently Asked Questions
What Type of Epoxy Is Best for Reshafting Golf Clubs?
You want a two-part, slow-curing epoxy specifically designed for golf club assembly. This type provides strong bonding, resists impact, and fills gaps between the shaft and hosel effectively.
Avoid quick-setting epoxies, as they don’t allow proper alignment adjustments. Mix the epoxy thoroughly before application and apply evenly inside the hosel and on the shaft tip.
Then insert and rotate the shaft for uniform coverage. Let it fully cure for maximum strength.
How Do I Choose the Right Shaft Flex for My Swing?
You choose the right shaft flex by matching it to your swing speed and tempo.
Faster swing speeds (above 90 mph) typically require stiffer shafts (stiff or extra stiff) for control and accuracy.
Slower speeds (below 85 mph) benefit from more flexible shafts (regular or senior) to maximize distance.
Test with launch monitor data or professional fitting to measure ball flight, spin, and feel.
This ensures the shaft complements your natural swing dynamics.
Can I Reshaft a Club Myself Without Special Tools?
Reshafting a club without special tools is like trying to bake a cake without an oven. It’s possible but tricky.
You’ll need a heat gun to soften epoxy, a shaft extractor for graphite, and sandpaper for prep. Using makeshift tools risks damaging your club or improper fit.
For clean removal and precise installation, investing in the right equipment guarantees durability and performance.
How Long Does Epoxy Curing Usually Take Before Play?
Epoxy curing typically takes 24 hours before you can safely play with the club.
Some fast-curing epoxies set in as little as 4 to 6 hours, but full strength is usually achieved after a full day.
You should keep the club stationary in a proper playing stance during this time to ensure correct alignment.
Avoid stressing the bond or installing the grip until the epoxy has fully cured for maximum durability and performance.
What Are Signs That a Shaft Needs Replacing?
If your shots feel like a broken record, lacking distance and consistency, it’s time to check your shaft.
Look for visible cracks, splinters, or bends that compromise integrity. Excessive torque or twisting during swings also signals wear.
If your clubhead feels loose or the shaft slips in the hosel, replacement is necessary.
Don’t ignore changes in feel or performance; these technical signs indicate your shaft no longer performs at its best and needs swapping out.
Your Path to Pro-Level Performance Starts Here
Now that you’ve mastered the steps to reshaft your golf clubs, you’re armed like a knight ready for battle. Your weapon is precision engineering. By safely removing the old shaft, prepping the hosel, trimming the new shaft, applying epoxy, and aligning everything perfectly, you guarantee peak performance.
Follow these detailed instructions carefully, and your clubs will deliver consistency and power on every swing. Your craftsmanship will make every round feel like a championship game.